Backup Mac

Backup Mac: a reader asks…
I have a 2017 Macbook Pro with a 512gb hard drive (about half full), running macOS Mojave. My question is, what’s the easiest way to backup my Mac that requires the least amount of work on my part?
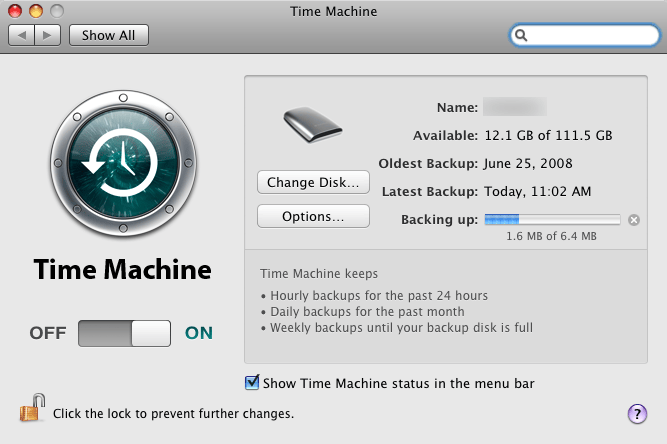
For almost its entire history, the Mac operating system has had a built-in app called Time Machine which can automatically backup your Mac. The only requirement is to have either a network-attached storage device (like Apple’s discontinued Airport Time Capsule), or a USB-connected storage device. Since you have a mobile computer, having to plug and unplug a USB drive can be unwieldy, not to mention extra work and something you have to remember to do.

If you have a network storage device such as the Time Capsule (or a compatible NAS like one from Synology), then your Time Capsule app will backup automatically anytime you’re in the same Wi-fi network as the Time Capsule. That’s dead-simple, once you’ve turned on Time Machine and directed it to backup to the NAS, your part is done. Everything else happens automatically in the background. Open System Preferences and run the Time Machine app, enabling it to backup to your NAS and forget about it.

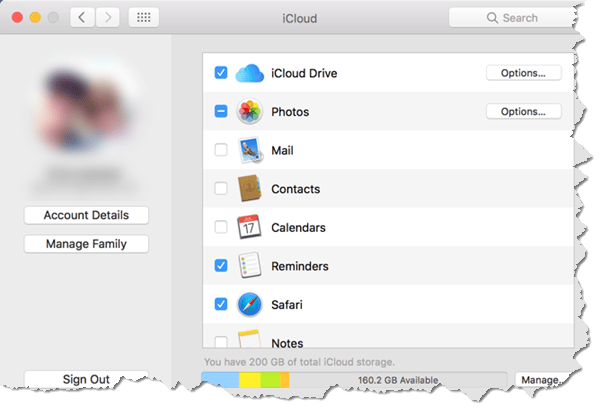
Another option that’s nearly as simple is to use your iCloud storage space for backup. That would be iCloud Drive and the other options on the list at System Preferences > iCloud. Of course, the paltry 5gb of space that comes with your Apple ID isn’t going to suffice, you’ll have to upgrade to a plan that gives you enough storage space to backup everything. It sounds like you may need a bit more than 200gb, so you’ll have to upgrade to the 2tb plan, there’s nothing in-between. That’ll run you $10/month (the 200gb plan is $3/month).
The only problem is that this doesn’t back up absolutely everything on your Mac like you get with Time Machine. Unfortunately, Apple doesn’t (yet) provide the ability to use iCloud storage with Time Machine, that’s a feature I’d just love to see. No idea on if or when Apple will figure out and implement this simple-sounding feature that would be the best of both worlds.

So that brings me to 3rd party cloud-based backup solutions. There are plenty to choose from, I think one of the best is BackBlaze. This is software you install on your Mac, and an online service (pricing starts at $5/month). Once configured, it runs automatically, backing up your entire Mac to a secure online destination.

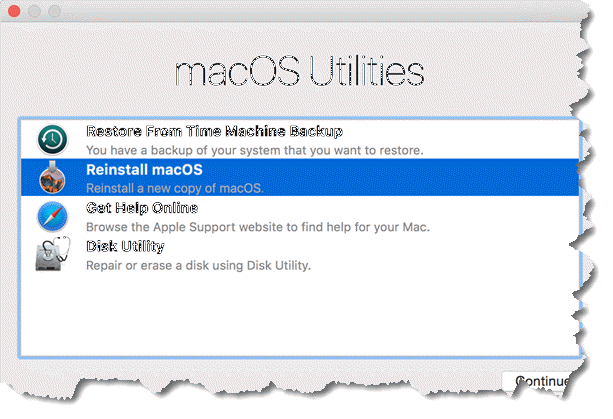
Of course, backup is only the first half of the equation. The 2nd half is recovering from whatever conflagration that caused the need to restore your files. For this, you would need to follow the procedure appropriate to your choice of backup method, based on your situation. Your situation could be recovering your existing computer after repair or restoring your backup to a new Macbook. Time Machine works pretty similar, when you first start up your repaired Macbook or a new Macbook, use the Migration Wizard to restore from the backup on the Time Capsule. You can also start up your Mac using the Command & R keys to get to the Time Machine restoral process.
If using iCloud, log into your iCloud account from the repaired Macbook or a new Macbook and your files should re-appear. If using a 3rd party backup too like BackBlaze, follow the procedures they outline.
So the simplest method is using Time Machine with a Time Capsule. But you’ll have to decide for yourself if that’s the best solution for your situation.
This website runs on a patronage model. If you find my answers of value, please consider supporting me by sending any dollar amount via:
or by mailing a check/cash to PosiTek.net LLC 1934 Old Gallows Road, Suite 350, Tysons Corner VA 22182. I am not a non-profit, but your support helps me to continue delivering advice and consumer technology support to the public. Thanks!


