Sending Zoom Recording to Facebook

Sending Zoom Recording to Facebook: a reader asks…
I use my iPad to do live sessions on Zoom. I do have a Zoom Pro account, I have recorded sessions, but do not see Facebook as an option to send to. How do I get these recorded sessions to my Facebook page from my iPad so others can access on demand?
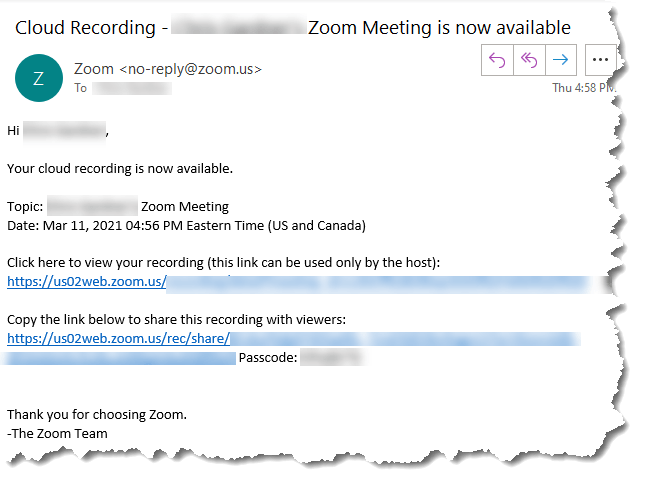
When you record a session using Zoom for iOS, you can only “Record to the cloud”. That stores the Zoom session recording on Zoom.us servers. Once you end the meeting or stop recording, the video is uploaded to Zoom servers and prepared for sharing. When the preparation is complete, you’ll get an email with links to watch and share the video.

Tip: don’t use the second link even though it says “share”! I’ll tell you why later…
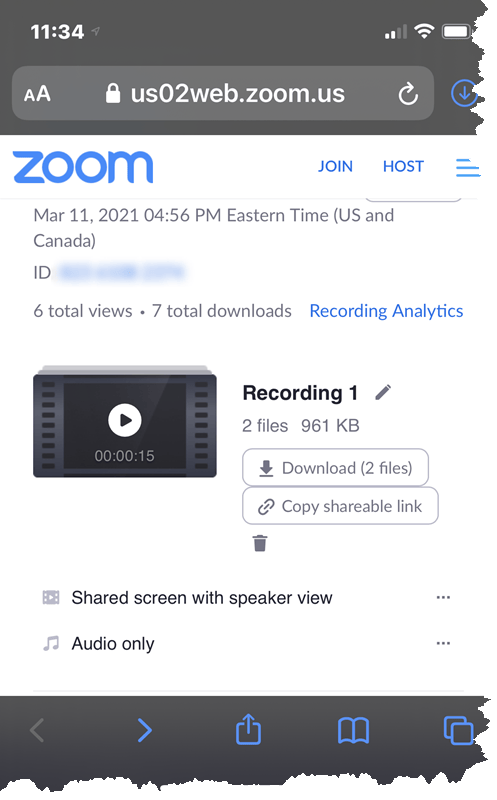
The first link says “Click here to view your recording (can only be used by the host)” – that link opens Safari. Log into your Zoom account, then you’ll see your recording and a Download (2 files) button. Tap that to download both (or either) of the video or audio-only files to your device. You’ll get a popup to download the first file, and then another popup to download the second file.
Most folks won’t need the audio-only file (which ends in .m4a), so when that download popup appears, tap the X to cancel that download. The video filename (ending in .mp4) in the popup is the one you want – tap the Download link for that one.
Now open the Files app on your iPad, and tap to open the Downloads folder in iCloud Drive. You’ll see the video file. At this point, you may want to rename the file to something simpler, so press-and-hold on the file icon and tap Rename on the menu that pops up. Overwrite the default filename that Zoom gave it with whatever you want. Be sure to include .mp4 at the end of the filename.

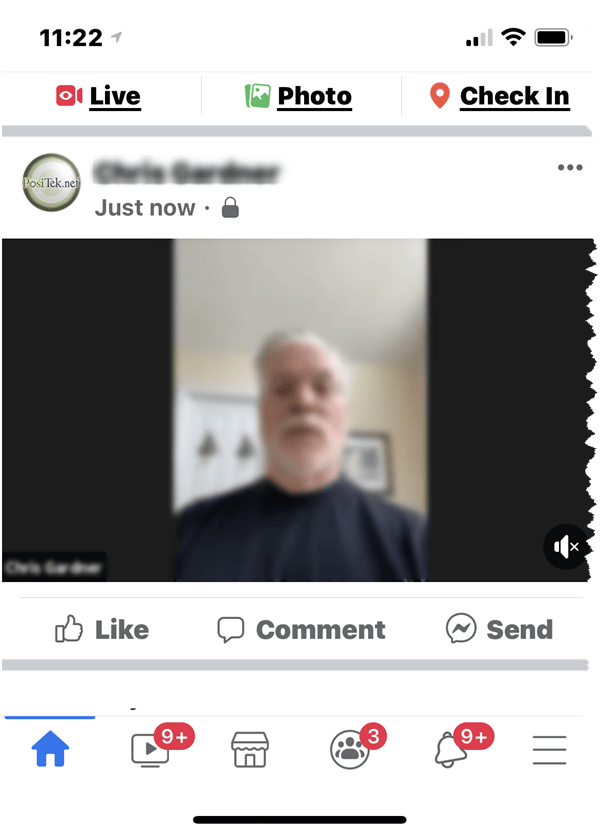
Press-and-hold on the file icon once more and tap Share link on the menu that pops up. If you have the Facebook app installed on your iPad, a Facebook status update box will appear with the video loaded. Type whatever other text you’d like to include and then click the Next link at the top-right, then the blue Share button on the next screen (which also tells you where you’re sharing the video). The video will upload and post to your Facebook.
Here’s why you don’t want to use the second link in the email that says “Copy the link below to share this with viewers”: In order for anyone to watch that video, they have to type in a passcode. The passcode is included in the email, but it does add an extra step for people to see your video and I doubt you want that.
One other potential gotcha: if your Zoom recording is long, it’ll take some time to download, and some more time to then upload to Facebook. There’s no real easy shortcut to go directly from Zoom to Facebook (without that pesky passcode). Also, if your iCloud account is full, you may need to purchase more space from Apple to hold the video file. Apple still only includes 5gb of space on your iCloud account without paying an additional fee. And the Zoom file download procedure doesn’t give you other options to download the file to your iPad, such as to Dropbox or Google Drive. It only uses the native iOS file location in your iCloud account.
Another tip: on the Zoom page in Safari you’ll see a link near the bottom that lets you download a “Shared screen with speaker view” version of the Zoom recording. If you (as the Zoom host) used Gallery view while in the Zoom session, you’ll probably want to download this version so the recording you get is of the speaker(s), not the little tiles with all the participants.
This website runs on a patronage model. If you find my answers of value, please consider supporting me by sending any dollar amount via:
or by mailing a check/cash to PosiTek.net LLC 1934 Old Gallows Road, Suite 350, Tysons Corner VA 22182. I am not a non-profit, but your support helps me to continue delivering advice and consumer technology support to the public. Thanks!


Chris, I have a personal Facebook page and a business page. When I attempt to share the video, the FB app sets it up to share on my personal FB page. How do I get it posted on my secondary FB page?
Thanks for any help you may be able to offer.
Hi Kirt, thanks for your question. I’m guessing you’re trying to do this from an iPhone or iPad. As the article tells you, you can only record a Zoom session to the cloud, so you have to first download it to your device.
Now at the paragraph in the article above which starts “Press-and-hold on the file icon once more…” you’ll want to use that Share button, but instead of sharing to FB, choose the Save Video option. That saves the Zoom recording to your camera roll. As you found, if you try to share directly to FB it will share to the default page (your personal page), so you have to take this extra step to get it on your business page:
Now you can open the FB app and tap the 3 horizontal lines at the bottom-right. On the menu page you can choose which FB page (your personal or business) you want to use. Tap the business page entry to go to that page and then you can post a status update to that page. There’s a photo/video icon you can tap to access your camera roll and upload that Zoom video, which will then post to your business page.
When you’re all done, you can tap that 3 horizontal lines and switch back to your personal page.