
Mac OS X Update, what should I do???
 A member asks…
I have a Mac that’s a few years old. It has OS X Lion (version 10.7 I think) on it. I didn’t bother to update to Mountain Lion or Mavericks, and now Apple’s released Yosemite. Do you think I should upgrade?
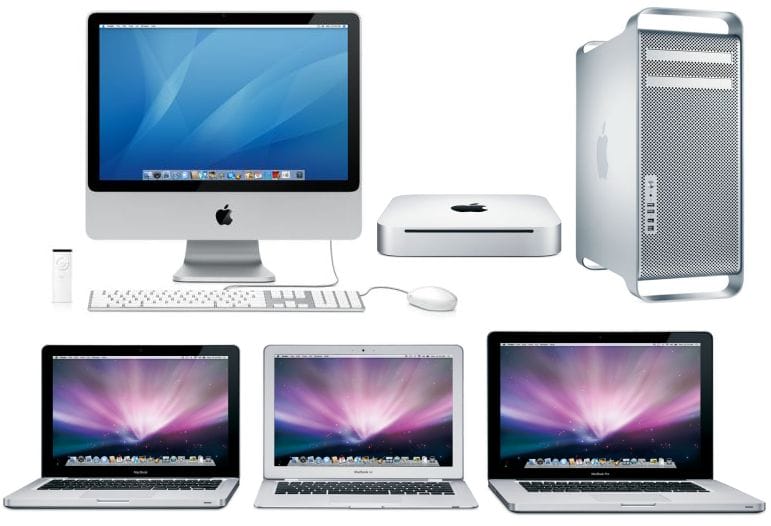
Ok, for most people with Macs, it’s a fairly easy decision – upgrade to OS X Yosemite (OS X version 10.10). Here’s a list of all the Macs that are compatible with OS X Yosemite:
 iMac (Mid 2007 or newer)
- MacBook (Late 2008 Aluminum, or Early 2009 or newer)
- MacBook Pro (Mid/Late 2007 or newer)
- MacBook Air (Late 2008 or newer)
- Mac mini (Early 2009 or newer)
- Mac Pro (Early 2008 or newer)
- Xserve (Early 2009)
 Your Mac needs at least 2GB of RAM memory (more is better) and 8GB of available space on the hard drive to be able to download and install OS X Yosemite. Plus, you need to already be running at least OS X Snow Leopard (OS X version 10.6.8) or higher in order to be able to upgrade. So in order to verify that your Mac meets all these requirements, just click the Apple logo in the upper-left corner of your screen and select the ‘About this Mac’ item from the menu. You’ll see the version number in the main window and underneath that you’ll see what type of processor you have (you need an Intel processor) and how much RAM memory you have.
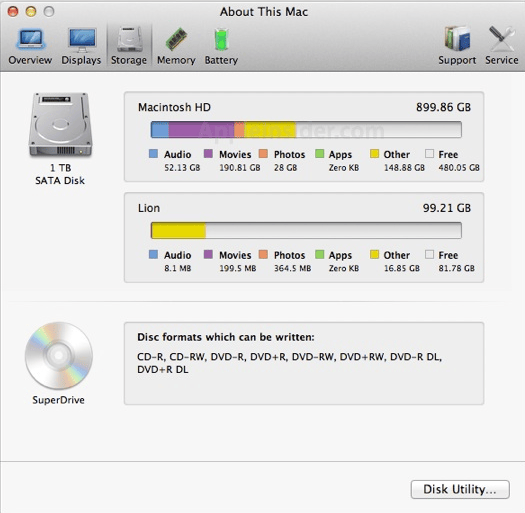 Then click on the More Info button which will open up a new window with tabs or icons – look at the ‘Storage’ item and make sure your hard disk has enough free space to download Yosemite (8gb).
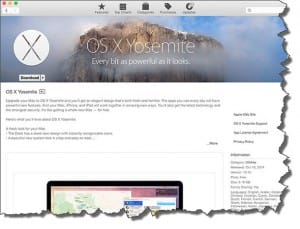
Assuming everything is ok, you can visit the App Store and start the install process for OS X Yosemite – it’s free, and you can directly upgrade from Snow Leopard, Lion, Mountain Lion, or Mavericks directly to Yosemite.
Most upgrades will go smoothly, but there’s no 100% guarantee you won’t have any problems. That’s especially true if you’ve tinkered with your Mac, or installed a bunch of 3rd party apps not from the official App Store. So before you install OS X Yosemite, here are some handy to-do’s to ensure your upgrade goes smoothly:
Important 1: Be sure your Mac is plugged into a power outlet and connected to the Internet via Wi-Fi or an Ethernet cable before you start!
Important 2: You also need to make sure that your current version of OS X is up-to-date. Either use the ‘Software Update’ link from clicking the Apple logo, or open the App Store and check for updates. Mountain Lion & Mavericks users can get both OS X updates and app updates from the App Store. You’ll want to make sure that all your installed apps are up-to-date as well, so take care of this chore before you start the upgrade to OS X Yosemite.
Important 3: And if you have any kind of backup capability, do take the time to backup your Mac before you begin. You can use any external hard drive or an Apple Time Capsule if you have one. If you don’t have either, it’s really past time to invest in something for backup. At the very least, you should backup your personal data files to a cloud-based storage, like Google Drive, Dropbox, Skydrive, SugarSync, etc., or to a thumbdrive. Don’t skip this, if by some chance you have trouble with the upgrade, this will save you!
Ok, on to the upgrade to OS X Yosemite! It’s really very simple, just:
- Go to the App Store and click the Updates tab and you’ll see OS X Yosemite (prominently showing on the Featured page, or a button on the top-right of the Updates page). Click the download button to start the process.
- Now sit back and wait patiently while your Mac is upgraded. You really only have one thing to click on, the big splash screen which has a ‘Continue’ button. Your system will restart during this process, just let it be – go have a cuppa coffee or something.
- Once the upgrade is done and your Mac has restarted again, you’ll be presented with a screen to log into your iCloud account (with your Apple ID and password). You can (and should) choose to sync your Mac’s password keychain to the new iCloud keychain. If you happen to also have an iPhone and/or iPad (with the new iOS 7) or other Macs using the same Apple ID, the iCloud keychain will keep all your website passwords synced across all your Apple devices – handy eh?
- You will also be offered the option to upgrade to iCloud Drive – do so only if all your iOS devices are running iOS version 8 or higher, and all your Macs are running OS X Yosemite.
- You’ll also want to allow access to your keychain. For new Mac users, Apple stores all your passwords in a virtual keychain, and your apps must have access to this keychain in order to work properly.
- You may also be able to choose to encrypt your file system/hard drive. For most folks, I’d say decline this invitation, it opens up a potential can of worms.
Done! Now enjoy some of the great benefits you’ve been reading about OS X Yosemite, or just get back to what you were doing with your Mac before all this hoo-ha started.

Now if you’re one of the very few unlucky folks who run into trouble upgrading, I sure hope you took my advice about backing up before you started. The most likely cause of problems is a hard drive that’s having …hard… problems. If your Mac is under warranty or not, you can get the hard drive replaced (you can even do it yourself), but you need that backup in order to get your system back to where it was before. We recommend an Apple Time Capsule which works with the Time Machine app built into your Mac.
But just about any external hard drive (or network attached storage drive) will do. Don’t bother to try this with a thumbdrive, the drive you use needs to have about as much capacity as your Mac. If you plug the external hard drive into your Mac, open the Disk Utility and format it as a Mac OS X (Journaled) drive and then the Mac can use it as a Time Capsule.
This website runs on a patronage model. If you find my answers of value, please consider supporting me by sending any dollar amount via:
![]()
(@PosiTek)
![]()
(Support@PosiTek.net)
")
(using any credit card)
There are currently 1287 reader comments on published articles, care to join in? Use the Leave a Comment form below/at the bottom of any existing comments. This is a good place to ask follow-on questions on this subject.


