
Setup Malwarebytes Correctly in Windows
Setup Malwarebytes Correctly in Windows: a reader asks…
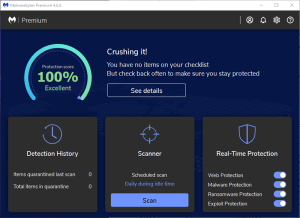
I followed your advice and purchased a subscription to Malwarebytes Premium (and Malwarebytes Browser Guard). I’ve installed it on my computer, is there anything else I need to do? I have a Windows 11 laptop computer.
Malwarebytes Premium doesn’t turn on what I consider to be the right settings when you install the app. Here’s what I recommend as the best way to setup Malwarebytes Premium on your computer:
First, Malwarebytes, like all other malware protection programs, would like to be the sole protection application you use. So when you install it on your Windows system, it will deactivate the built-in Windows Security that provides basic protection. Their reasoning is that having multiple protection programs will cause conflicts and system slowdown. However, I’ve tested this extensively and don’t find this to be the case.
To use my favorite metaphor, your computer is like your nightclub. You want the biggest, baddest bouncers at the door to keep the riff-raff out, right? And while one bouncer will do, I think that two is a better number. For your computer, Malwarebytes Premium is the biggest, baddest bouncer to keep malware off your system. Microsoft Windows Security (formerly Windows Defender) is no slouch (anymore), so I think you want them both working to protect you.
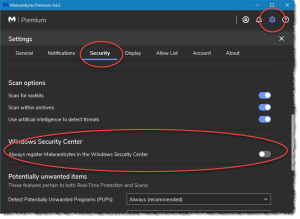
In order to make this happen, you have to change a default setting in Malwarebytes Premium. When you open the application, you’ll see a gear icon at the top-right. Click that to get to your settings menus. Across the top you’ll see several “tabs” of menu pages. Click the “Security” tab. On that, scroll down the page till you see “Windows Security Center”. on the right, slide the slider left to off. That’s it, now Microsoft Windows Security will run right alongside Malwarebytes Premium, and they’ll both be protecting you.
If you’re not sure how to open the application, you can either open it from the start menu, or click the Malwarebytes icon that’s in your notification area.
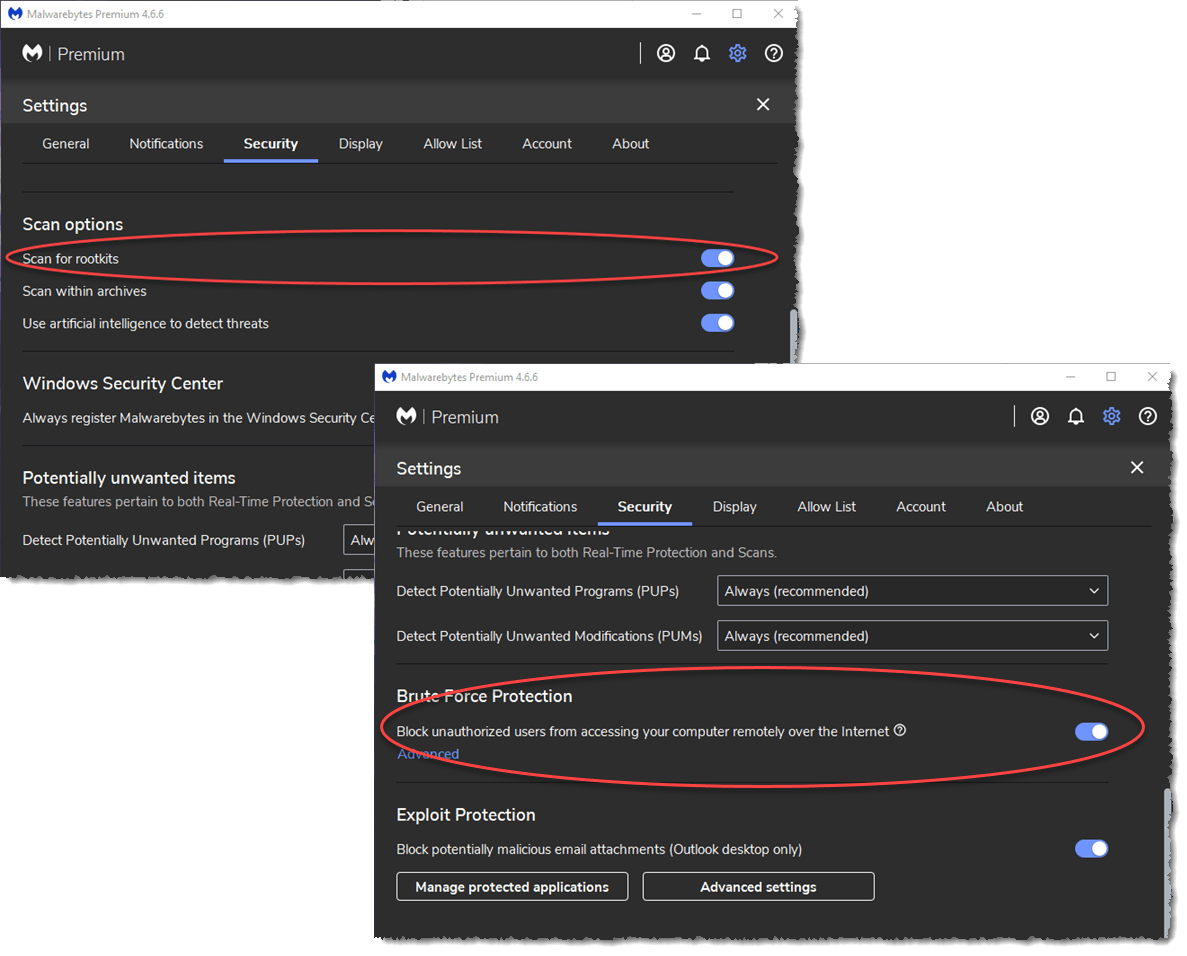
Second, there are other sliders on that same Security tab window. All of them should be on (except for the aforementioned Windows Security Center slider), but the default installation leaves two off. Slide them on – that’s the “Scan for rootkits” item under Scan Options, and “Brute Force Protection”.
The rest of the default settings on all the tabs are probably ok. Feel free to peruse and familiarize yourself with the various settings on the tabs. You may not need to change anything, but you want to know what you can do, right?
If you’re the kind of person who doesn’t want to be bothered except for important things, you may want to make three more changes, and they’re in the Notifications tab. Go to the Notifications tab and:
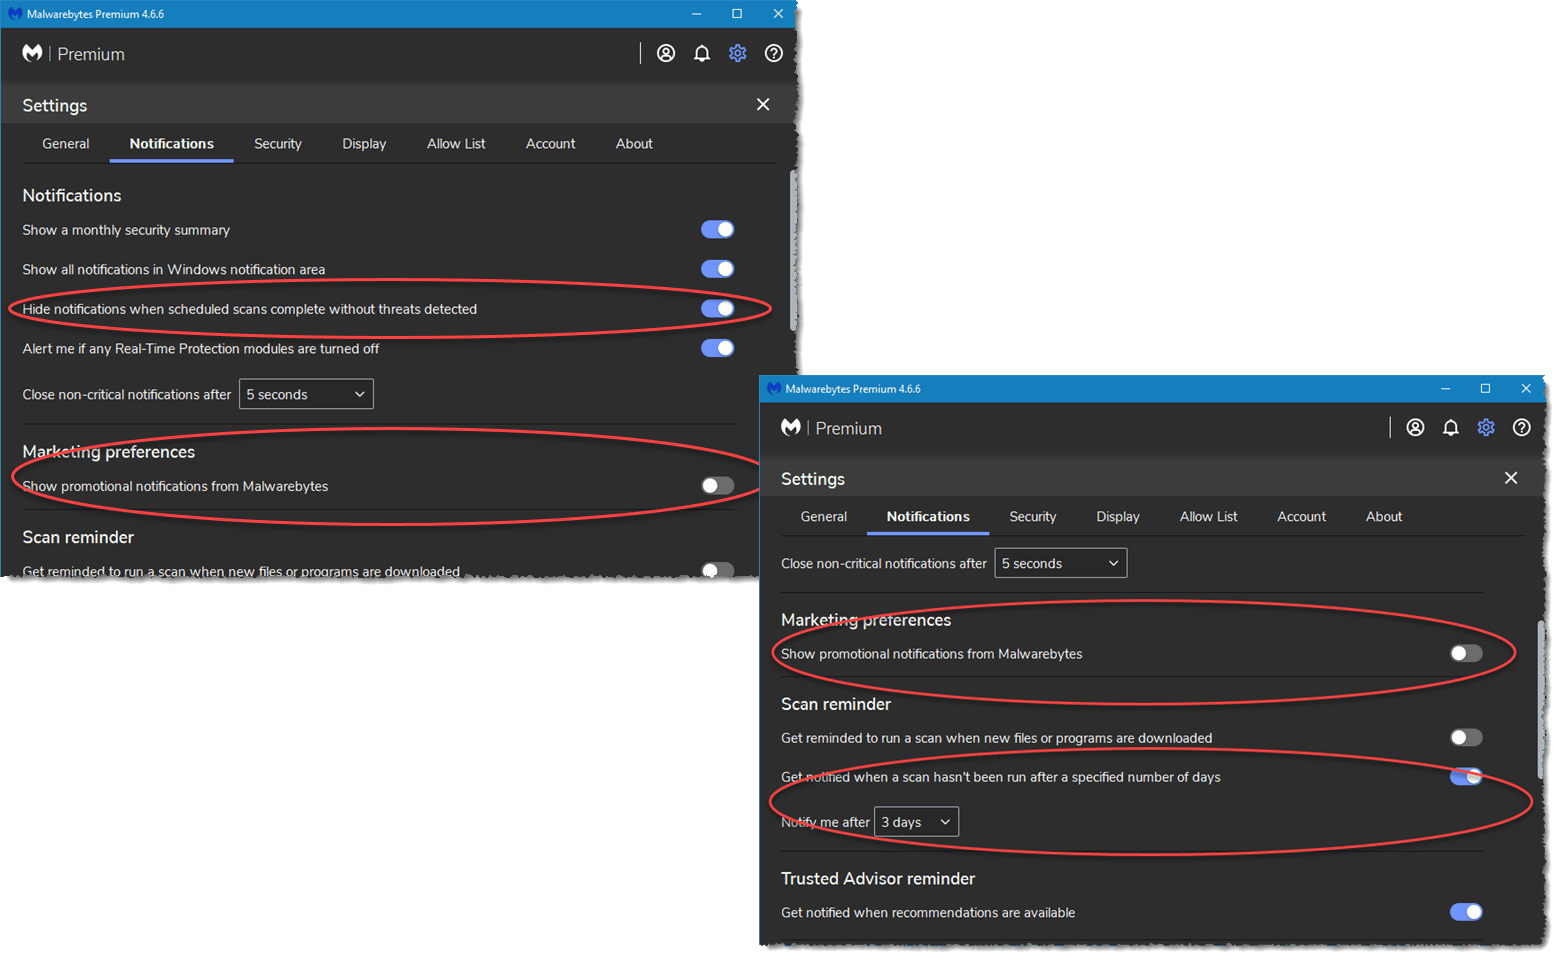
- slide on the “Hide notifications when scheduled scans complete without threats detected” slider.
- Further down, you may want to slide off the slider under “Marketing preferences”.
- Further down, turn on the “Get notified when a scan hasn’t been run after a specified number of days”. When slid on, a box will appear where you can select how many days to be notified. I set this for 3 days myself, and think that’s safest for most people.
That’s it, the rest of the default settings are ok to leave as is. You can close the Malwarebytes Premium window, it’ll keep running in the background and working to protect you. One thing to be aware of: from time to time, Malwarebytes will update itself in the background. These minor updates happen automatically, you don’t have to do anything. But major updates like a new version of Malwarebytes don’t install themselves automatically – you have to install the new version. Fortunately, Malwarebytes will give you a reminder to update with a popup box.
This website runs on a patronage model. If you find my answers of value, please consider supporting me by sending any dollar amount via:
![]()
(@PosiTek)
![]()
(Support@PosiTek.net)
")
(using any credit card)
There are currently 1295 reader comments on published articles, care to join in? Use the Leave a Comment form below/at the bottom of any existing comments. This is a good place to ask follow-on questions on this subject.


