
The Right Macbook Air Options
The Right Macbook Air Options: a reader asks…

I have a 10 year old Macbook Air (256gb hard drive-getting full) and it’s time to replace it. I see the new Macbook Airs are limited to only two models, one with a 7-core GPU and one with an 8-core GPU. I use my current Macbook Air as a desktop (with a separate monitor, wireless keyboard & trackpad) as well as mobile. I like to create & edit the occasional movie video, but don’t really do much with the Macbook outside of normal activities (surf the web, email, write documents, etc.). I’m in the Apple world fully with iPhone and iPad. Can you help me decide which model to get and what other options I should be choosing?

First off, when you look at the Apple store, the two 2021 Macbook Air models are $250 apart in price. But once you decide on options, the final price may be quite a bit closer together. For example, outfit them both with 16gb of RAM and a 1tb storage drive, and the price is only $50 apart. Since you’re likely going to want to expand on the base model specs, you might as well choose the 8-GPU model and build up from there.
While most everybody can get by with 8gb of RAM on a Macbook Air, you may want to give consideration to increasing it to 16gb. This increase means you won’t encounter any bottlenecks while operating your computer. You’ll be able to leave multiple apps running, have as many tabs on your browser open as you like, and never have to wait while the Macbook shuffles running tasks around to free up memory. And given you’ll likely be using this Macbook for a number of years, your computing needs might change in the future, and the extra RAM will be worth it. Note: once your system is delivered, you won’t be able to expand the RAM later on.
The choice of hard drive space is next up for consideration. Since the 8-GPU model already comes with double the storage space of the 7-GPU model, you have a smaller step-up in cost to have a spacious 1tb of storage space. Why 1tb? My rule of thumb on replacement is to get four times the storage space of your old computer. Likely you’re going to continue to take photos and videos, and you want to make sure you don’t run out of space over the 5-10 years you’re going to be using your new Macbook. And upgrading the hard drive downline is not really an option either. Macbooks are constructed to be so thin and light by making engineering decisions on the internal components that negate any real possibility of future internal upgrades.
Looking at the Apple Store, those choices put your new Macbook Air cost at $1,649US. While I wouldn’t bother with either of the pre-installed software choices (Final Cut Pro for video production and Logic Pro for music production), there are a few other items you should consider:

- AppleCare+ is most useful for its accidental damage protection coverage. Since you’re going to be working mobile sometimes, I believe the risk of accidental damage is high enough to warrant the $70/year additional cost.
- A USB-C Digital AV Multiport adapter is going to be needed to connect your external HDMI monitor. The New Macbook Air comes with two USB-C ports and no other ports other than a headphone jack. That multiport adapter lets you connect an HDMI cable, another USB-C cable and a USB-A cable. Since you already have both wireless keyboard and mouse, those are likely charged with your existing Lightning cable, so you don’t need another cable for that.
- If you’re going to be operating mobile on a regular basis, you might want to consider getting a 2nd set of power adapter & USB-C cable to use on the road, along with a carrying case that can hold those as well as your Mac. That way you don’t have to unplug the main power adapter from your desktop station.

When you connect up your desktop station, you can set the Macbook Air off to the side of the external monitor, and run the power connection for the Mac to the multiport adapter (#2 above), then plug that multiport adapter into one of the two USB-C ports on the Mac. When you go mobile, there’s only one connection to unplug and you’re off.
Note: you can certainly use the Macbook Air open and use both screens (extended display), or if you wish, close the lid and just use the single external display. I will tell you that if you have the desk space, being able to use two screens independently can be a productivity boost. I generally show my email app on the Mac’s screen, and use the bigger external monitor screen for web browser and other apps. This lets me quickly access my email without having to close any other open windows. To extend your display, have both screens on and go to System Preferences > Displays, and choose the Arrangement tab. Uncheck the box “Mirror Displays”. At that point, you can move windows from one display to the other independently. If that option doesn’t appeal to you, check the “Mirror Displays” option and you can close the lid on the Macbook Air and just use the external display.
One other thing to remember, when your Macbook Air is connected to an external display, closing the lid doesn’t do anything other than change screen resolution to match the external display. If you’re not connected to an external display, closing the lid will put your Mac into sleep mode.
Now onto making your purchase: You can buy your Mac and all the accessories/options online at the Apple Store. Most of the above accessories show up on the same page where you added your Macbook Air to your shopping cart, so add them to your bag right after you add the Macbook Air to the bag. That includes AppleCare+ (annual auto-renewing plan), the multiport adapter, and a Thunderbolt 3 (USB-C) cable. Before you check out, you’ll want to add a spare power adapter to your bag. Visit https://www.apple.com/shop/product/MY1W2AM/A/30w-usb-c-power-adapter and add that $49 item to your bag. Then you can review the bag and check out.
- You may want to choose a longer USB-C power cable, the “Review your Bag” page has a 2 meter charge cable you can add to your bag and remove the 0.8m cable that you’d added earlier.
- If you use an SD card-equipped camera for photos, you may want to add the USB-C to SD Card reader accessory, which appears under the items in your bag on the “Review your Bag” page. And any other options you think you’ll want.
- When you check out, use your Apple ID and choose to have all items delivered to you.
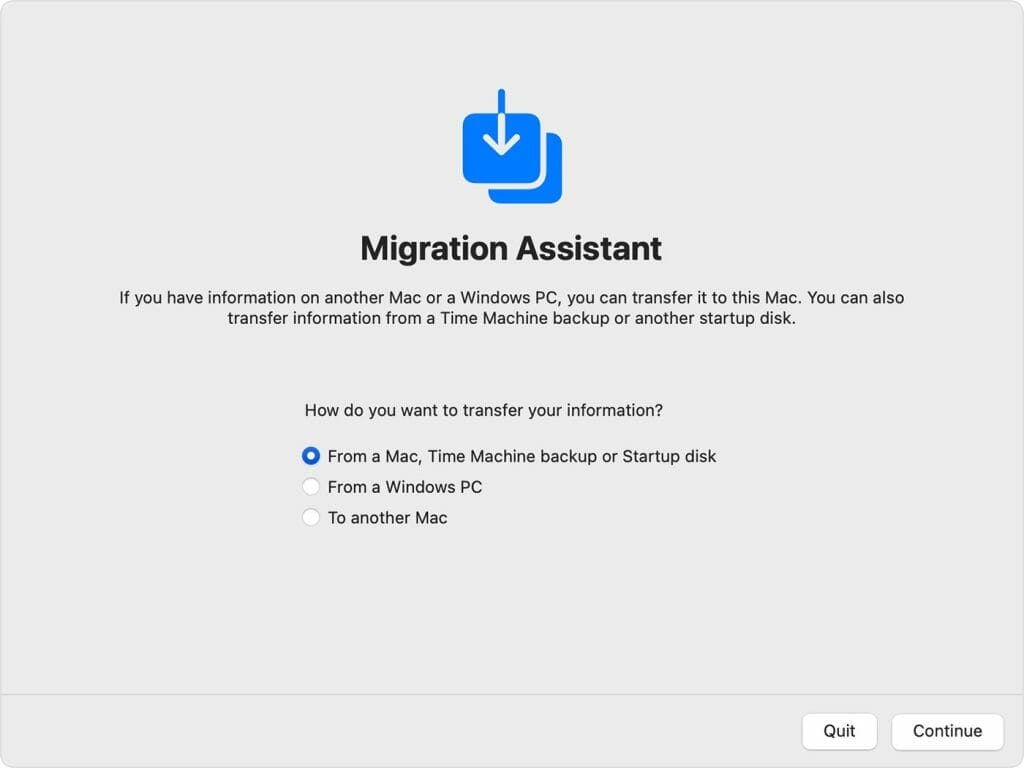
Once you receive your new Macbook Air and accessories, the first thing you’ll want to do is unpack it and place it next to your old Macbook Air. Turn on and log into the old Macbook Air, and then turn on the new Macbook Air and start to go through the initial setup (including connecting to your home Wifi network). You’ll be offered the option to transfer everything over from the old Macbook Air, which requires you to run the Migration Assistant app on the old Macbook Air. Most likely you’ll want to do this, just recognize that it may take some time.
- With the migration Assistant, you’ll want to adjust your power options so neither Macbook goes into power-saving/sleep mode. Open System Preferences on both Macbooks. On the older Macbook, choose Power Options and drag the sleep slider off to the right. On the new Macbook, that’s the “Battery” option in System Preferences.
Once you’ve finished the migration, your new Mac is ready to use. Take a few minutes to look at the differences in the versions of MacOS from your old Macbook to the new one. There are plenty of online videos you could watch, search Youtube with the name of your old version of MacOS (e.g., Mohave, Mavericks) and your new Mac (e.g., Big Sur or Monterey). A search phrase like this would work: “Differences between macOS Mavericks and MOnterey”.
A few other things to think about:
- Using iCloud and iCloud Drive: Apple only gives you 5gb of iCloud storage without an additional fee, and for most people that’s not enough. We could debate the chintzy Apple policies all day, but I’d say just bite the bullet and sign up for the $2.99/month expanded storage option so you don’t have to worry about it. Also take a look at what’s in that storage space, there may be old backups you no longer need, and you can get rid of them.
- Make sure you take advantage of iCloud storage for your photos and videos, which may be different than how it worked in the past. Turn on iCloud Photos for your iPhone, iPad and Macbook, and use the Apple Photos app on your Macbook to organize your photos into albums. And don’t forget the option on iCloud photos (all devices) to “Optimize storage”. Don’t worry, your full-resolution photos will always be available to you (at icloud.com), but you don’t need to fill up limited storage space on your devices.
- ICloud photos has replaced the old PhotoStream and iPhoto app, expanding on the power and capability of photo management. While the old functions and services were ok, the new Apple Photos (app and service) is now mature enough to use for all your photo management needs (staying within the Apple environment as you are).
- Apple Music has also changed. However, Apple has moved more toward the subscription music model rather than enhancing support for you and your own music library. I should say that despite having upwards of a thousand hours of music in my own music library, I still opted to pay Apple the subscription so I can play any music in the vast Apple Music library. I still have my own library with my own playlists (and still pay for iTunes Match so my own music is available on all my devices), but find myself more and more just using the Apple Music library and shared playlists.

And finally, what to do with the old Macbook Air? It won’t run the latest version of MacOS, but it may still find a new life in the e-cycle world. The most important thing you should do is to clear it of your personal stuff before you donate it or recycle it. Two important tasks:
- Remove it from your Apple account as a trusted device. Do this from your Apple ID management webpage (https://applid.apple.com/account/manage). Go to Devices and remove that computer.
- Create a new user account on the old Macbook Air (with administrative privileges). Do this in System Preferences > Users & Groups by checking the box “Allow user to administer this computer”.
- Log out of your account and log into the new account you just created. Go back to System Preferences > Users & Groups and delete the old account. Once that’s done, open Finder>Applications>Utilities>Disk Utility>Erase and choose the Erase Free space option. This wipes all traces of your personal data from the internal hard drive.
This website runs on a patronage model. If you find my answers of value, please consider supporting me by sending any dollar amount via:
![]()
(@PosiTek)
![]()
(Support@PosiTek.net)
")
(using any credit card)
There are currently 1287 reader comments on published articles, care to join in? Use the Leave a Comment form below/at the bottom of any existing comments. This is a good place to ask follow-on questions on this subject.


