Teaching over Zoom

Teaching over Zoom: a reader asks…
I am a teacher, and back in April my school moved to teaching remotely over Zoom. It’s a near-certainty this will continue in the fall, so I’m thinking now is the time to get my setup at home as good as I can without spending a lot of money. What do you suggest? I have a fairly new Windows 10 laptop computer and have been using the built-in webcam, microphone and speakers. that is powerful enough to use a greenscreen (although I don’t do that often, it’s too much work).
I’ve previously written about using Zoom, so be sure to check out my articles, Fun with Zoom and Up your Zoom Game. Let’s start with the basics, video, lighting and audio. I’ll cover what you can do to improve things with what you have, and give you tips on what you can add to improve things.

First up is video: Your camera lens should be at or about eye level. Likely the laptop is sitting on your desk. That’s too low, and your students are looking up your nose! You can stack some books on the desk and place the laptop on top of them. Adjust the height by adding or removing books. It need not be exact, with the camera lens height anywhere between your nose and forehead is close enough. Be sure to test this out when sitting at your desk, if you sit back you may find yourself lower in the camera frame than sitting forward, so adjust the height to how you’ll be sitting while teaching.
Along with the camera height, you should have the camera far enough away from you so that your upper body is fully in the frame. That will let you use non-verbal communication over Zoom much easier than a close-up. You can always move closer to the camera for those head shots when needed.
You can get a better-quality webcam than the one built into your laptop. Right now, quality webcams are in short supply. The market is flooded with cheap knock-offs that are low-quality and may be missing important features (like auto-focus), so be patient. At some point the manufacturers will rectify the supply situation. You could then take a look at upgrading to a HD webcam, such as the excellent Logitech C9xx line, the Streamcam, or even the more expensive Brio. Check them all out here, and watch both online and local computer supply sources for when they become available.

Second, your lighting should be sufficient so you look good on-screen. A natural light source (e.g., a window) is best, but don’t have it directly behind you. It’s better to have it off to one side or in front of you (behind the laptop). You may want to have another light source on the opposite side, and simple gooseneck lamps work great for this. The idea here is to reduce or eliminate shadows on your face and body.
Professional studios usually have three light sources, one either directly in front or 45 degrees to the left and just above head height, one about 45 degrees to the right and just below head height (called “key” and “fill” lights), and one overhead just behind you that is shining down on your head and shoulders (called the “rim”, ‘hair’ or ‘backlight’ light). You may be able to replicate this with a window, a gooseneck lamp and a ceiling light.

If you want to really improve your lighting (say you’re in a room without natural light), then you could consider investing in a kit of color-and-brightness adjustable LED bulbs (such as this Philips Hue Ambiance starter kit for $199). Add gooseneck lamp bases for the key and fill lights, and perhaps an overhead tracklighting or ceiling mounted fixture for the backlight.
Third is your audio, e.g., the microphone. Since you’re locating the laptop a bit further away from you, the built-in microphone is going to have a harder time picking up your voice (and just your voice). For music teachers (such as also playing guitar) this may not be a huge problem, but for other subject-matter teachers, you want to make sure that it is easy for your students to understand your words.
Also, using the laptop’s built-in speakers means that the microphone (and Zoom) will have to work harder to eliminate the echo that comes from the microphone picking up not only your students voices, but also yours as it comes out the speaker. This introduces distortion and clipping, which degrade your audio and make it harder for your students to understand you.

Here are where two low-cost add-ons can really help you. The first is a lavalier microphone that you plug into your laptop’s microphone port. Having the microphone as close to your lips as practical will make your voice come through significantly clearer. Be careful about what lavalier microphone you buy though, many cheap ones are not amplified and will not give you decent performance. I found a really good one online, the Movo LV1 lavalier microphone ($20 at Amazon.com). What makes this one so good? It has a very long cord, so you can sit or stand further away from the camera, and it has an inline button battery for amplification so your voice comes through loud and clear.

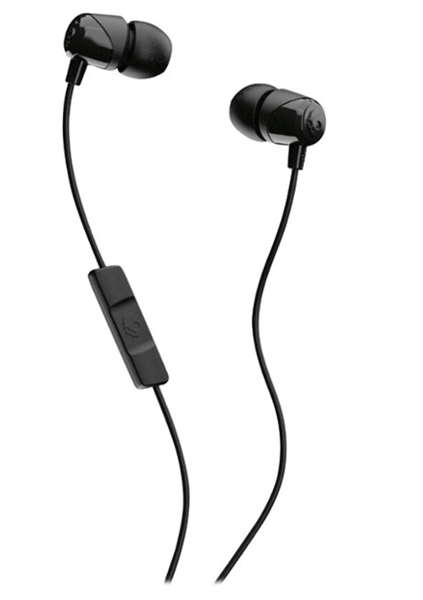
The other low-cost add-on is a set of tiny earbuds that you plug into your laptop’s headphone port. This takes the audio coming from Zoom right to your ears so Zoom doesn’t have to try to eliminate that echo (which causes more distortion and clipping). These need not be fancy or expensive, and you may have some lying around you can use, or buy cheap SkullCandy earbuds (I found these online for $15). You may want to pair them with a headphone extension cord (like this 10′ one for $6) so they’ll reach from the laptop to where you’re sitting or standing. Some folks like to use those big over-the-ear gaming headsets (I find them quite obtrusive), if you’ve a pair hanging around you could use them instead.
For both the headphone and microphone cords, just run them behind you and down so they don’t show on-camera. With enough cable length they can trail on the floor and have plenty of slack in case you need to move around.

You could choose to go with a wireless headphone/speaker combo, if your computer has Bluetooth. With Bluetooth you can use popular devices like Apple Airpods or almost any other wireless headset or earbuds that include both earbuds for listening and a microphone for picking up your voice. There may be just a bit of lag as the wireless method of audio transmission can take a fraction of second longer than a wired connection. Since you’re already dealing with lag from using video conferencing over the internet, this may be an acceptable trade-off, if you already have a wireless set.
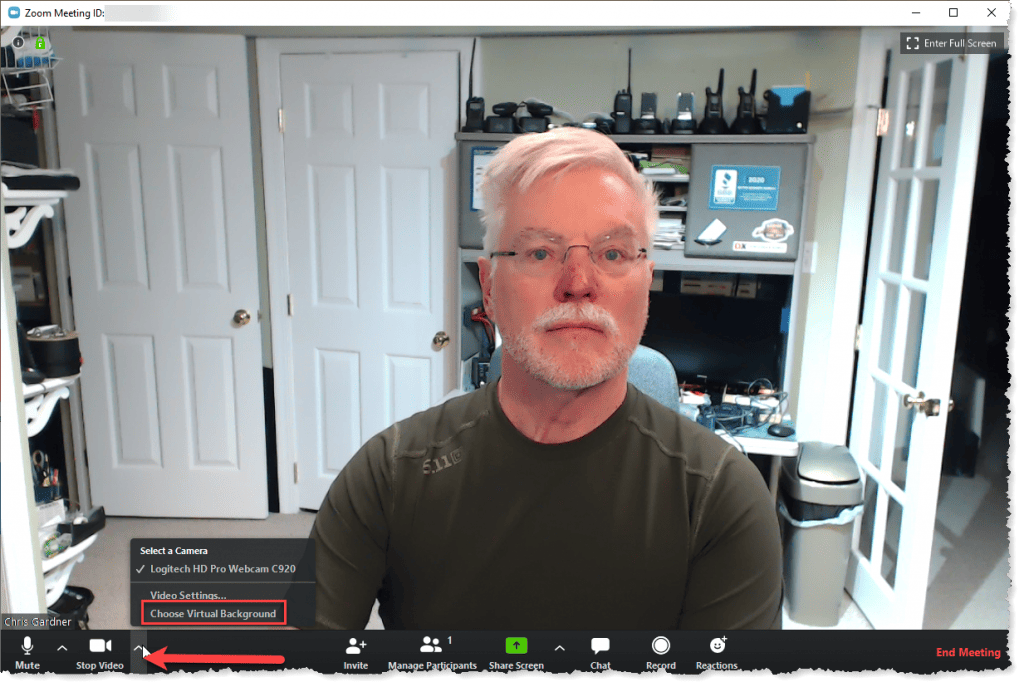
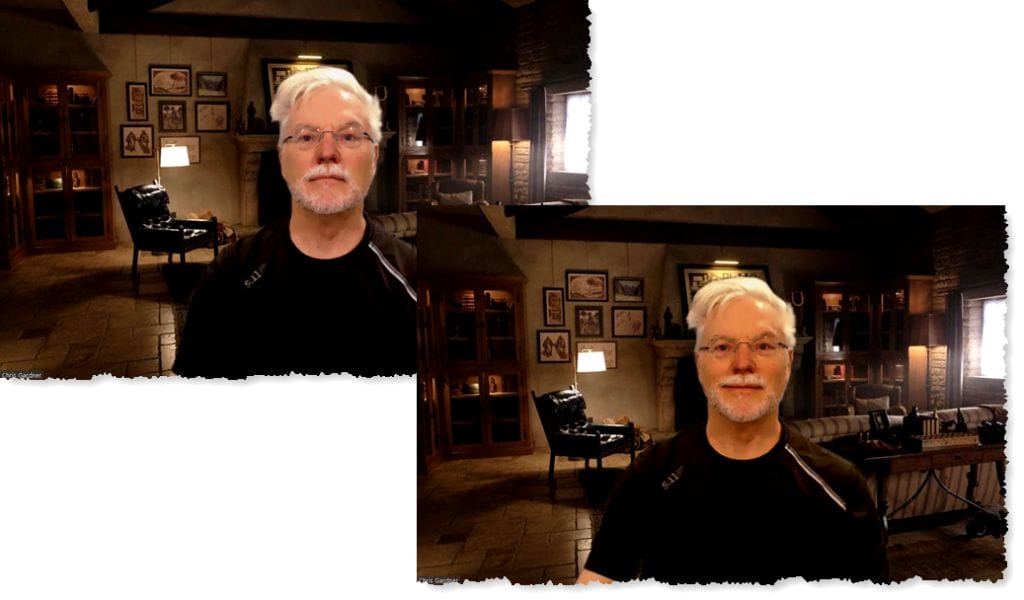
You mentioned a greenscreen, and you should know that you get the best effect if the greenscreen is well and evenly lit. Having significantly darker or lighter areas of green behind you will make it more difficult for Zoom to blank out the background without also blanking out parts of you from time to time. And if you move around on-screen, you’ll need a pretty wide greenscreen in order to fully fill the camera frame with green (other than you in the foreground of course). Most HD cameras shoot in widescreen format which includes a significant part of the background left and right of you.

I should mention that if you can adjust your lighting (such as with the Philips Hue Ambiance bulbs I mentioned earlier), you can go a long way towards making you and your background look complementary. I adjust my foreground lighting to complement whatever virtual background I’m using. So for an indoor virtual background, I use warmer indoor lighting, for outdoor backgrounds I use whiter outdoor/daylight lighting. For darker backgrounds I dim the foreground light while bright backgrounds get full brightness of me. You get the picture?
Lastly, let’s talk about delivery. I’m not going to try to tell you how to teach, but you certainly need to consider adjusting your teaching to fit this new medium. Just guessing, but I think your students are going to need more engagement, not less. Sure you can use the screenshare, chat, breakout rooms and voting options built into Zoom.
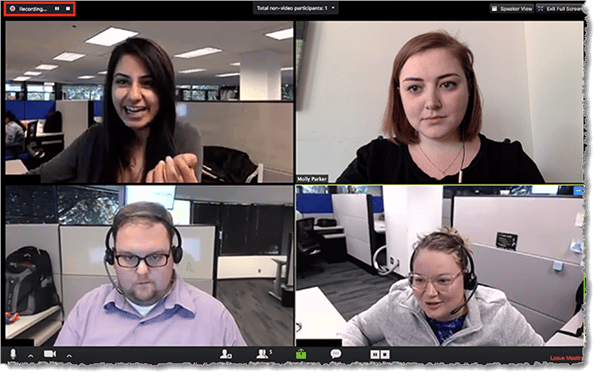
But you should also consider changing your teaching style to work better within the constrains of the small screen. Many of your students will be watching you on a smartphone screen, and many will not have headphones or any of the other tips above to make their experience as good as it could be. Meaning knowledge transfer may take a little more time than it would in a classroom.
And you may notice that 2-way simultaneous conversation is more difficult, if a student tries to interrupt you, you and any other students may stop hearing your voice even if you continue talking (or vice versa). Another issue is that of attention span – the students aren’t sitting in front of you where you can walk to them to grab their attention. And don’t forget that you can record your Zoom sessions to allow students to re-watch them.
Your best option will be to experiment with teaching styles, methods and procedures to find what works best for you and your students. You may find it easier to work with fewer students at a time – 20-30 thumbnails in a Zoom window make it much harder to see who’s paying attention and who’s not. Also, Zoom does have a handy guide 🙂
This website runs on a patronage model. If you find my answers of value, please consider supporting me by sending any dollar amount via:
or by mailing a check/cash to PosiTek.net LLC 1934 Old Gallows Road, Suite 350, Tysons Corner VA 22182. I am not a non-profit, but your support helps me to continue delivering advice and consumer technology support to the public. Thanks!


